
Connecting Industrial Sensors to Microsoft Azure IoT Central
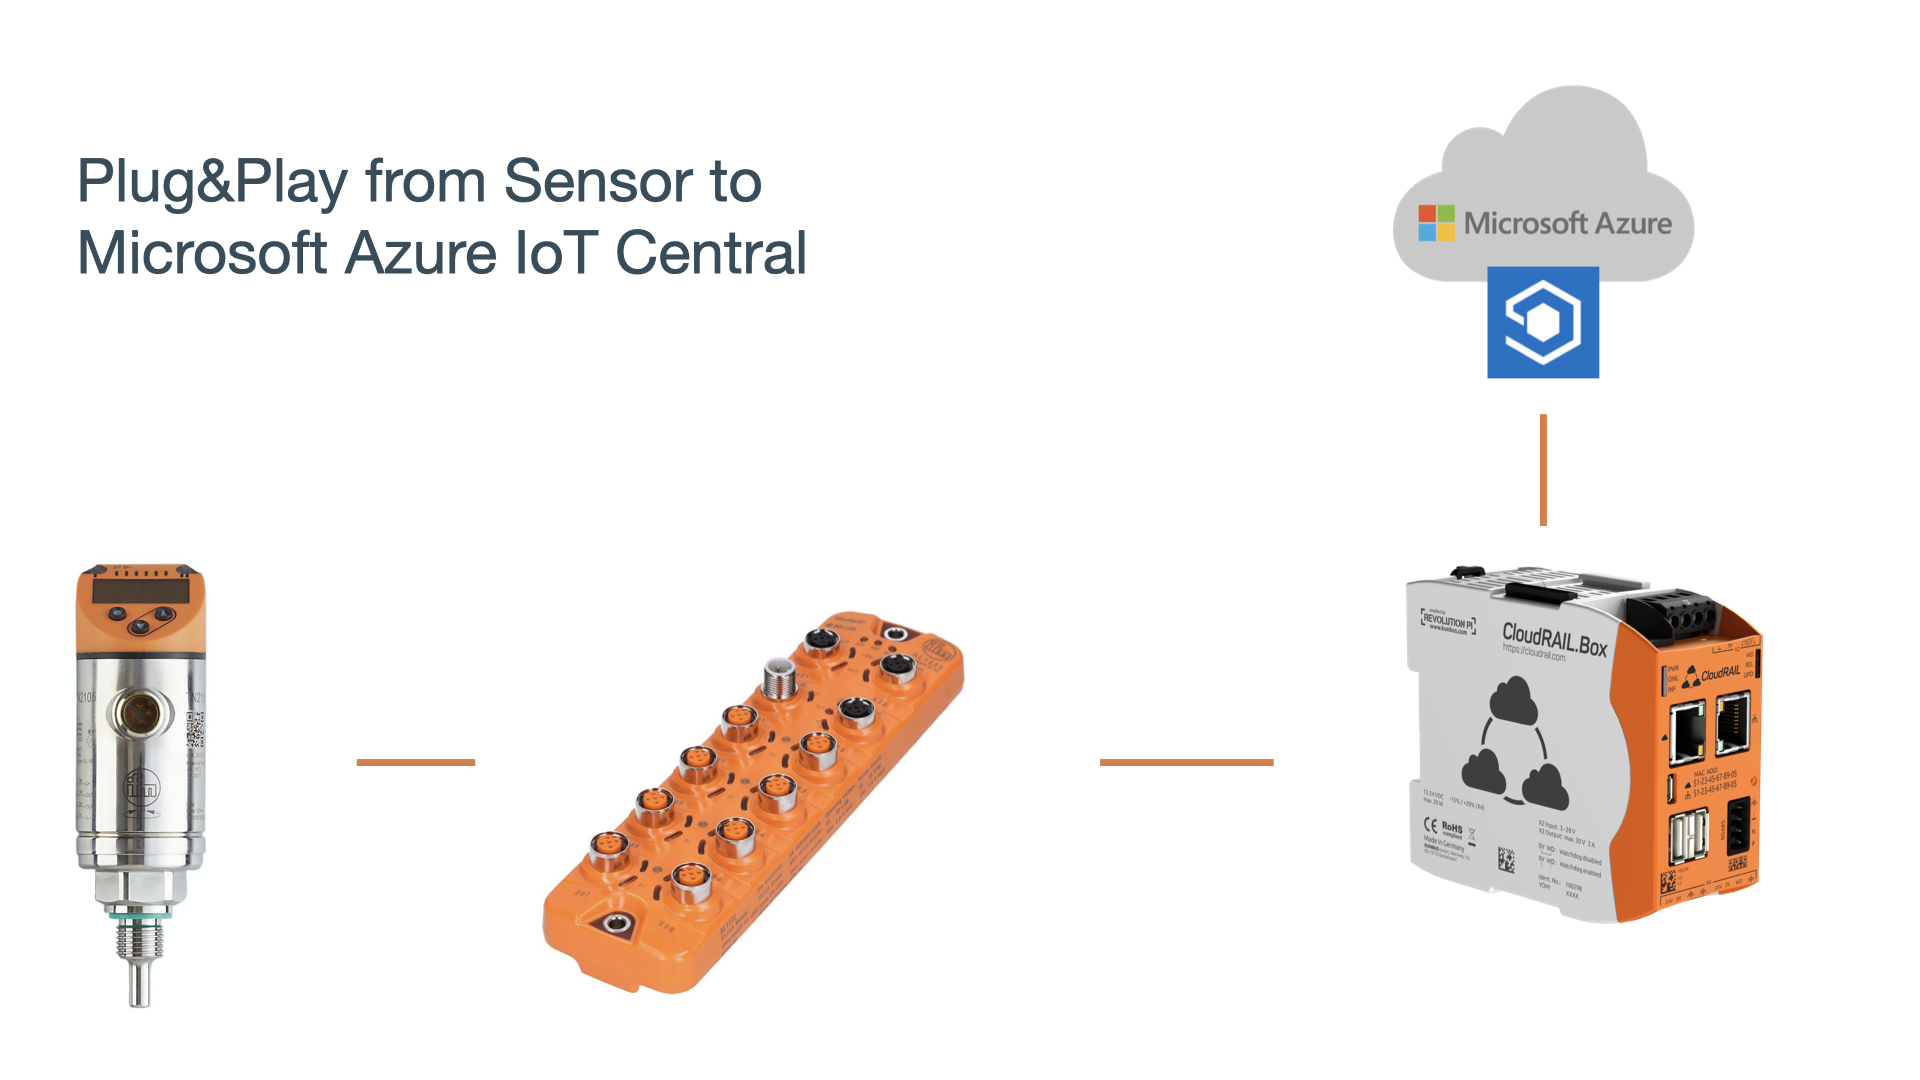
In this blog post, we’ll show you how to connect industrial sensors (IO-Link, analog, digital) to Microsoft Azure IoT Central using a Plug&Play approach.
So here we are again, one more time easing your IoT day life. Did you know you can easily work with the Microsoft Azure IoT Central using CloudRail? I know right? Like life was not good enough with CR making your IoT integrations seamlessly easy….
– “Wait, my good fellow!…” ( said the eager customer)
– “What is Azure IoT central? How do I use CloudRail with it?”
Ask no more, my dear customer! There is always a blog post to make your understanding even smoother!
What is Azure IoT Central?
Without trying to rewrite exactly what Microsoft brands all over the internet, you can think of the IoT Central of a tool that organizes your devices and all of the data regarding them ( either receiving (reading for a sensor temperature) or sending data (turning on a light or an alarm). The web UI lets you monitor device conditions, create rules, and manage millions of devices and their data throughout their life cycle. After setting up your IoT devices using the Azure IoT Central, you are free to actually use them in a real use case. e.g:
- Notify by email the tech team for abnormal temperature variations
- Store the data to use in Machine learning and BI analysis
- Bend the power of IoT using your own custom APIs ( other business systems)
- Quickly get insights of your IoT Data
- Easily connect with almost any Azure service.
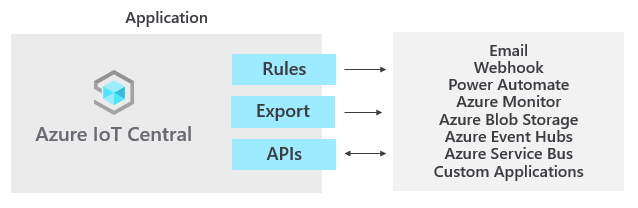
Azure Iot Central possibilities.
How to use CloudRail to integrate the devices (IO-Link Sensor) with Azure?
(You will first need a Microsoft Azure account with a valid subscription in order to proceed)
1 – Create ( or sign in) with a Microsoft account with a valid Azure subscription.
2 – Use the Azure dashboard to create an IoT Central application.
( for more information about how to create the IoT Central application and get the API token, check the video tutorial above )
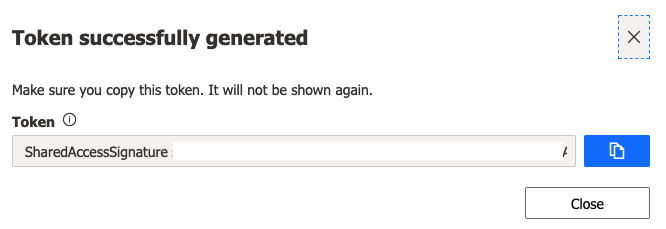
3 – Get the credentials from your newly created Azure IoT application, To create an API Token go to Administration, followed by API Token, and press the Generate Token button.

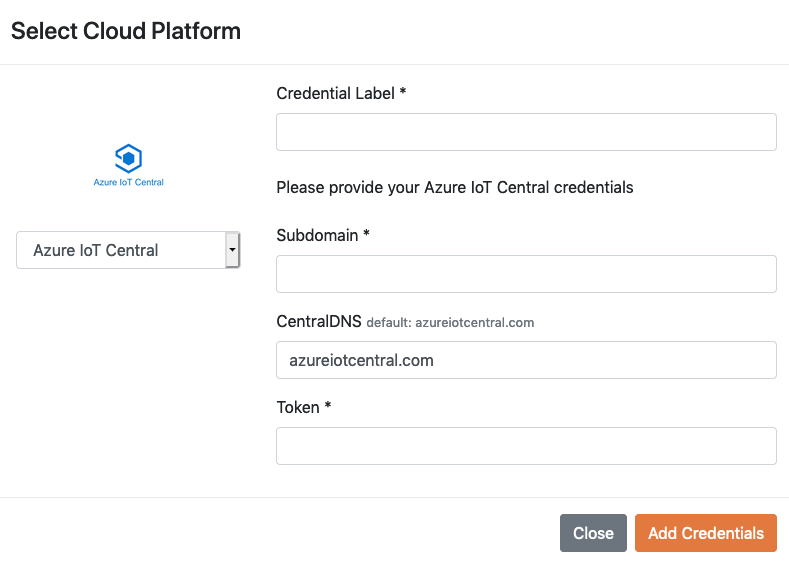
4 – Add the credentials ( along with some other info) to your cloudrail “Credential Manager”, when you do that CloudRail will automatically add those credentials to new devices you create for Azure. ( unless you check not to ).
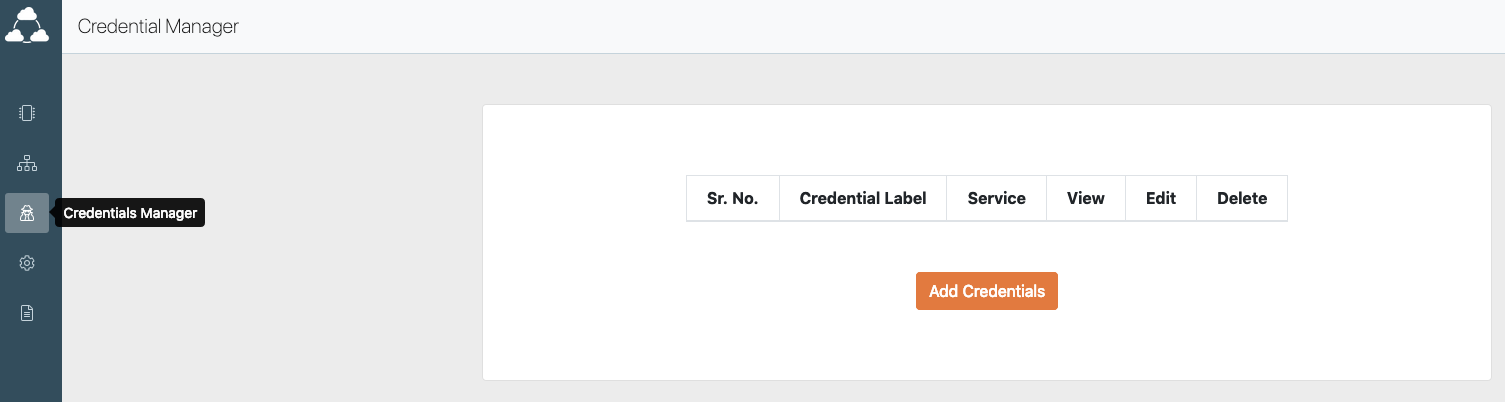
Once you have added the credentials you should see them in the Credential Manager. You can view the credential, edit, or delete.
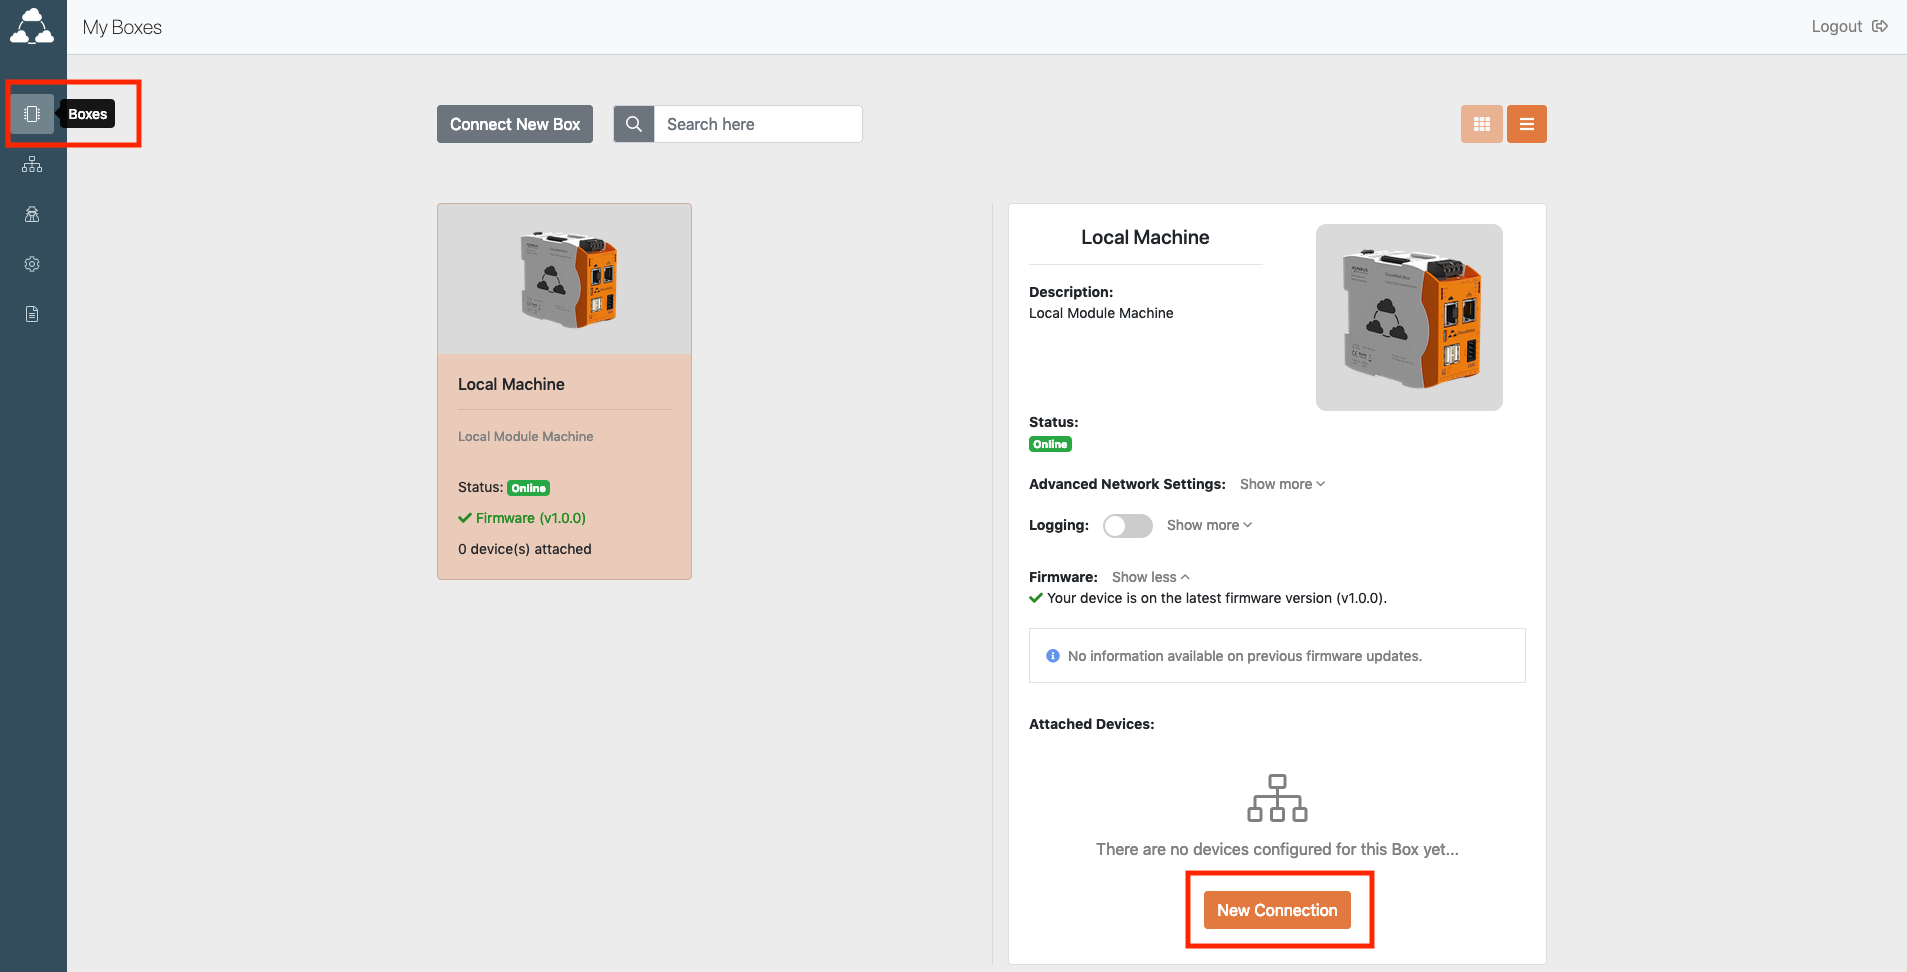
Now you can use easily add devices to Azure IoT Central using CloudRail.

5 – Now add a device on the CloudRail platform (remember to use the Azure IoT Central service we just added). In our example, we use an IO-Link temperature sensor by ifm.
(again, for more in detail explanation check the video above)
Done you already integrated it! Now lets put that device to some use and read it.
Visualize Data
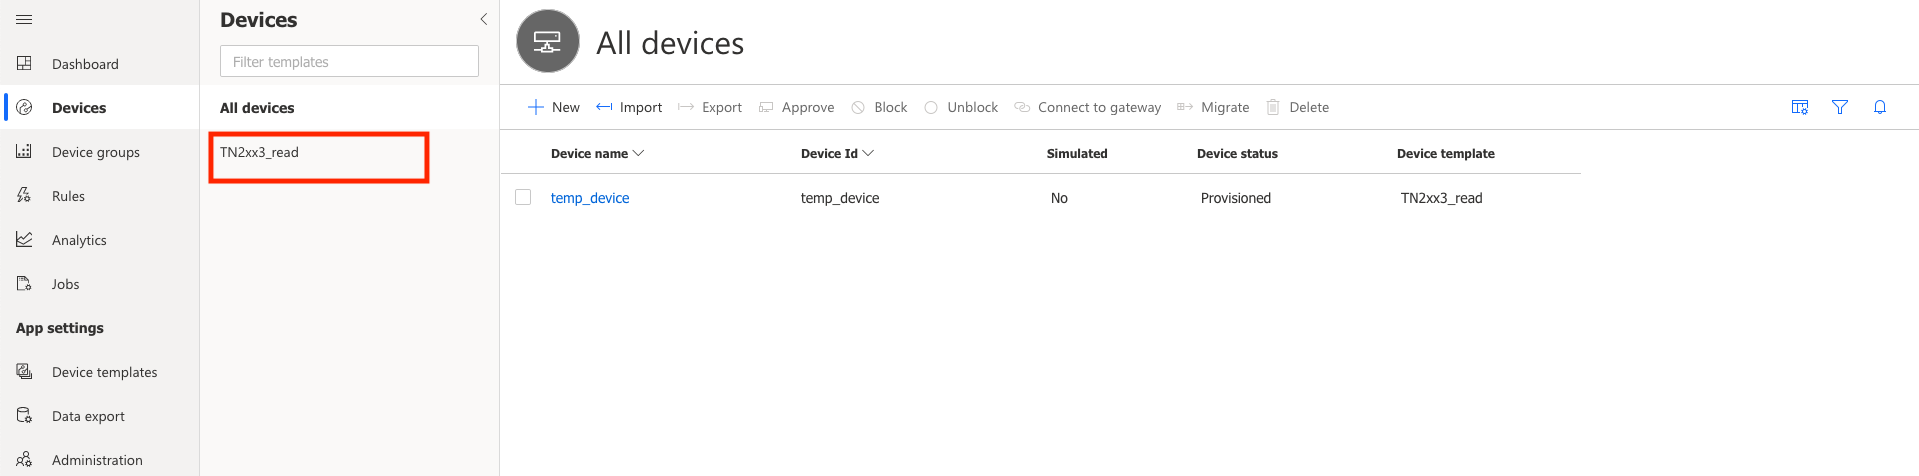
To visualize this data, go to your IoT Central Application. Go to Devices and see which Device Template (in our case it is the IO-Link sensor TN2xx3_read) the device (e.g. temp_device) is added to.
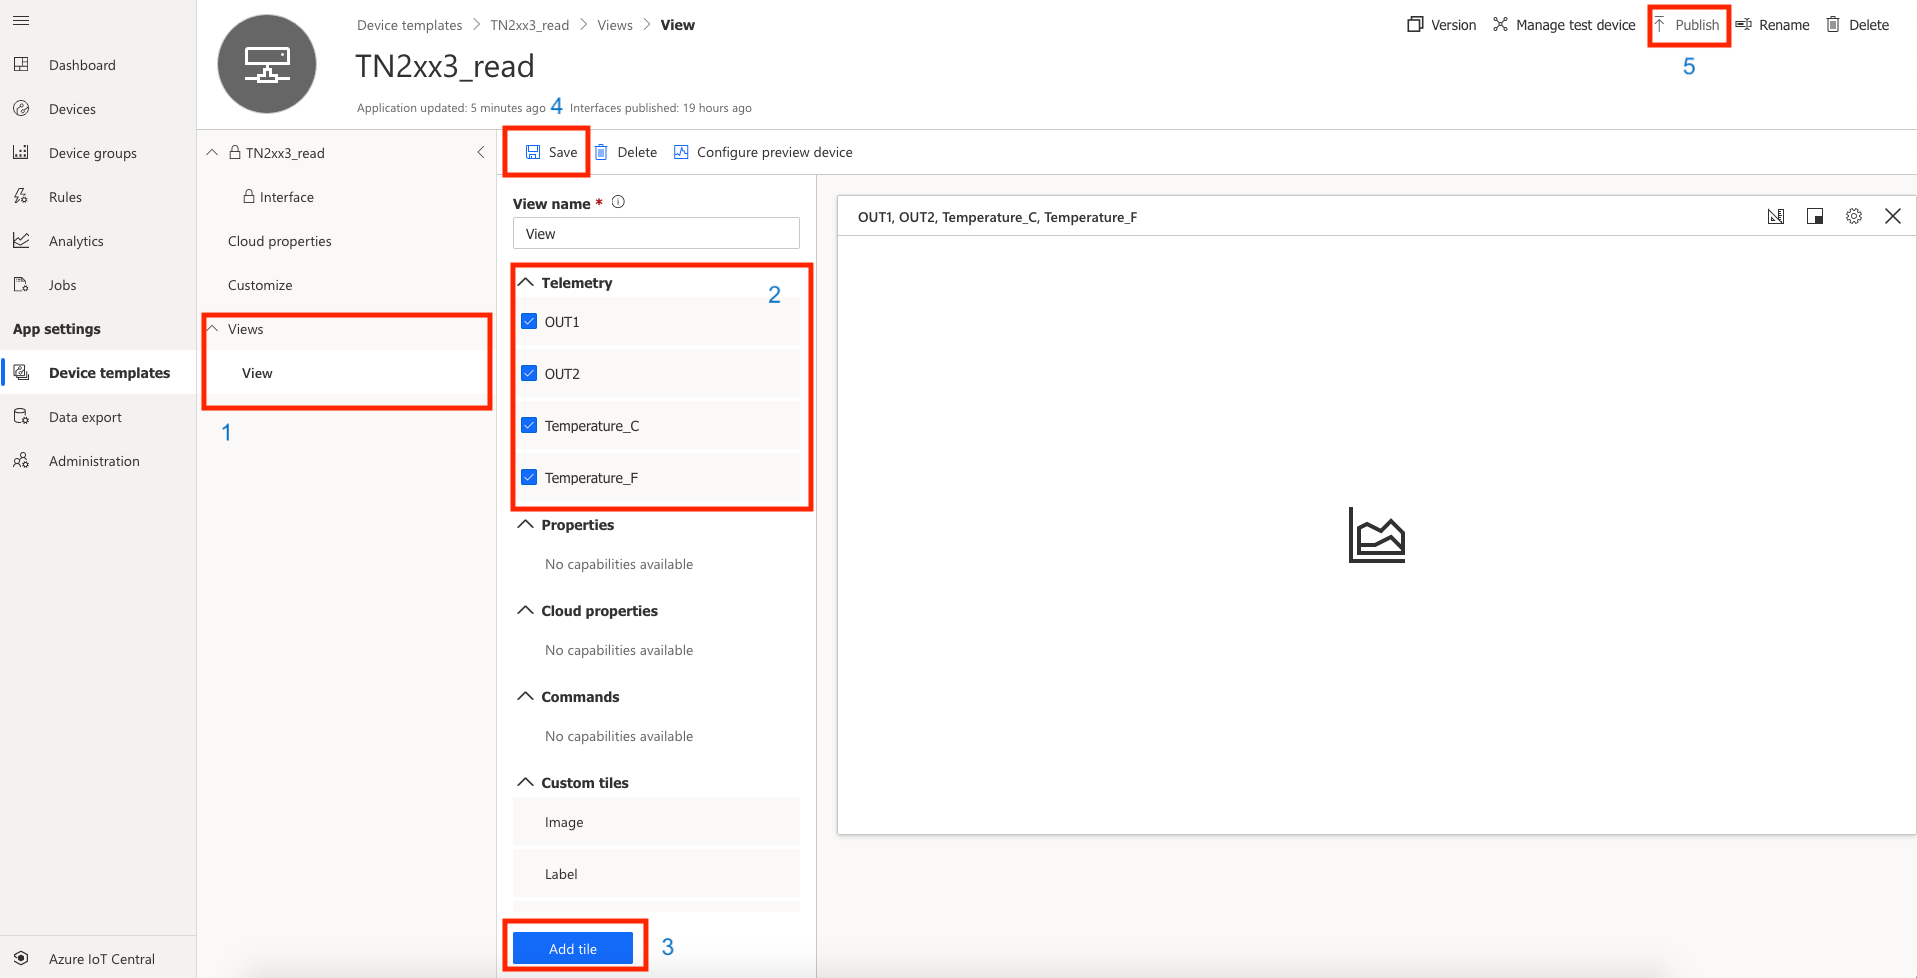
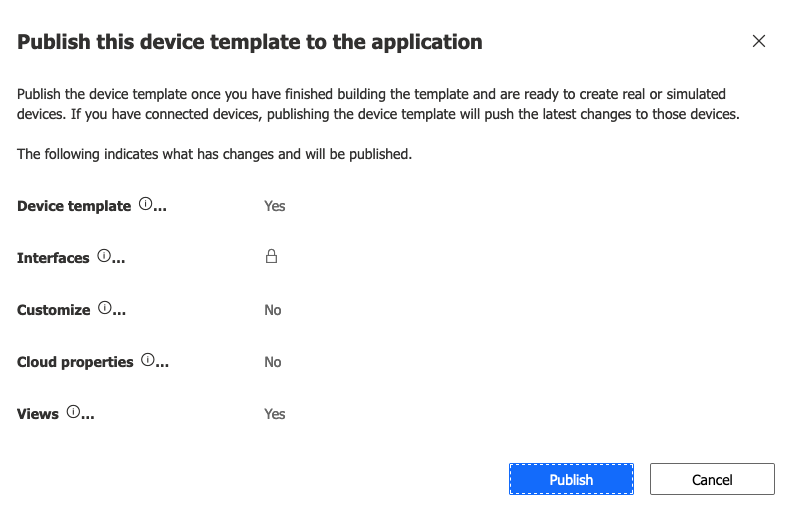
Once you have saved and publish the Device Template, go to the Device (e.g. temp_device) and visually see the data.
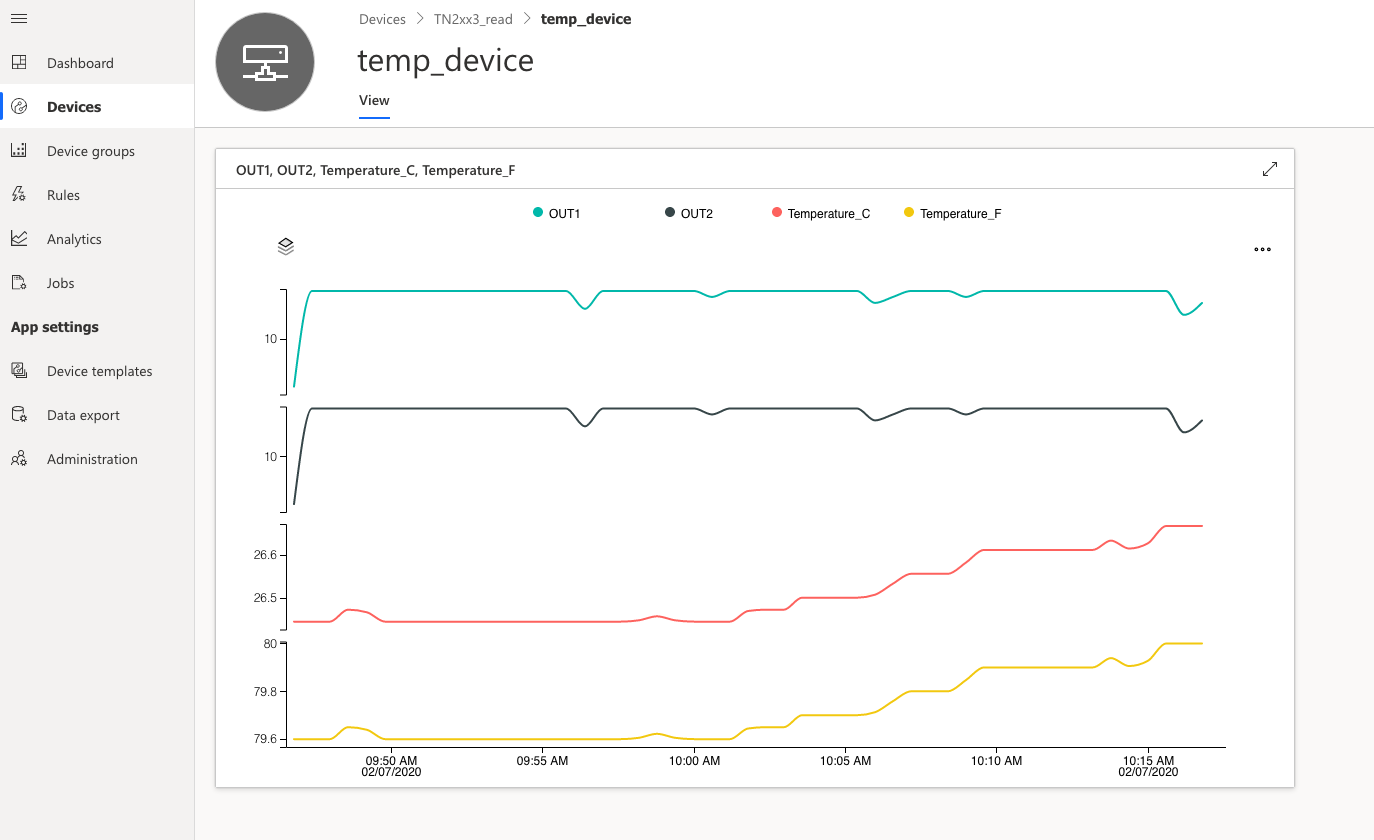
As promised before now we can see in real-time the data coming from the sensor, in our case a temperature sensor. There are still plenty of possibilities, you could instead send the data to Azure storage, or add some triggers depending on the data received. And that not only limits to one device, but you could also add hundreds of temperature sensors, tower lights, vibration sensors, alarms!
If you have further questions, drop us a message! we do love to help you 🙂
